 Image via istockphoto

Written by Eric Gockel
If you’re generating regular content for your website, you’re already ahead of the game compared to most businesses. But what about email newsletters, do you have those set up as well?
If you don’t have a content production process for your email newsletter, don’t fret. If you have a spot on your website for a blog, or place where you post regular news or updates, it should have an RSS feed already enabled. Can’t find it? Check out how to find or create an RSS feed for any website.
Once you’ve got your RSS feed, you’re now ready to share your blog posts with Mailchimp.
You’ll want to create a new automated email campaign, and select Share Blog Updates. You can now begin by adding your RSS feed URL and select how often you’d like these RSS emails to go out. If you only have a few posts a month, you may opt for monthly. If you post more frequently, you may try sending weekly or daily.
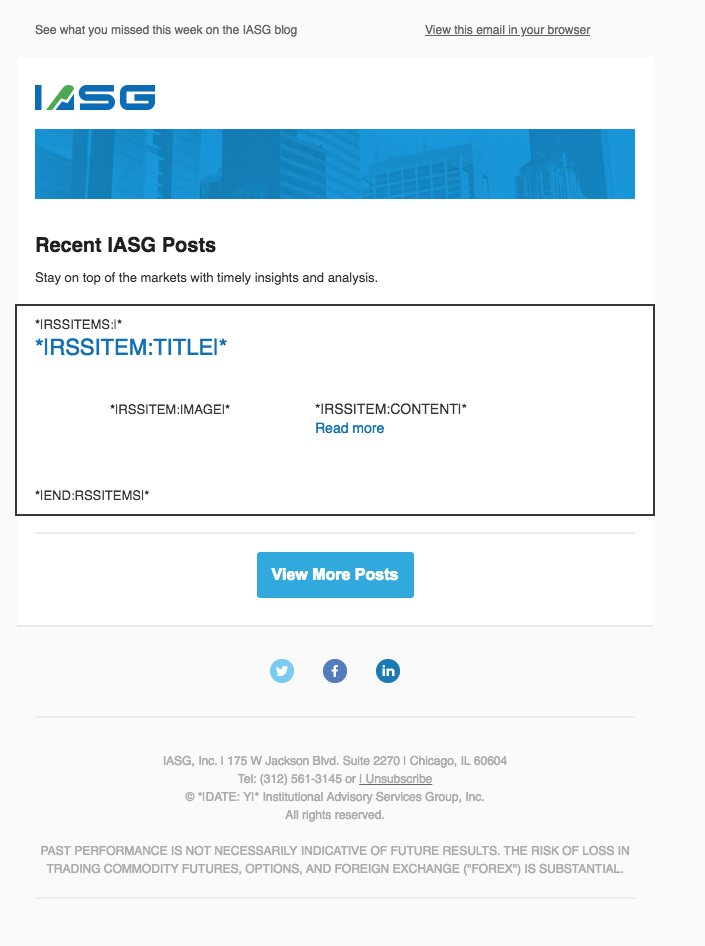
We’ll break down an example we’ve done for IASG here in Chicago. This first screen is the WYSIWYG view in the RSS Feed Newsletter Design.
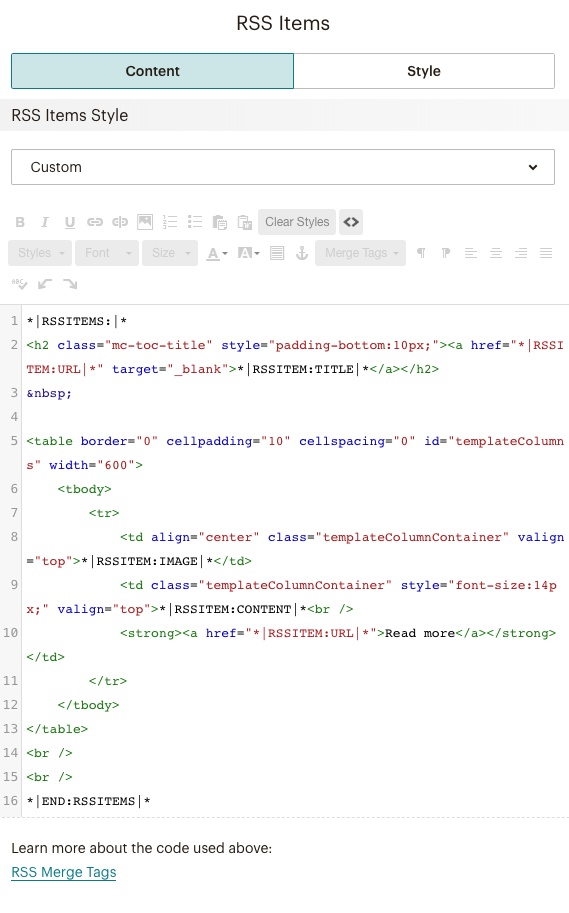
Next is the RSS Items block, with the Mailchimp RSS merge tags that we inserted into a table to display the post’s image next to the post’s title. If your feed doesn’t include images, or not all your posts have one, you may opt to just show the post title with an excerpt and link.
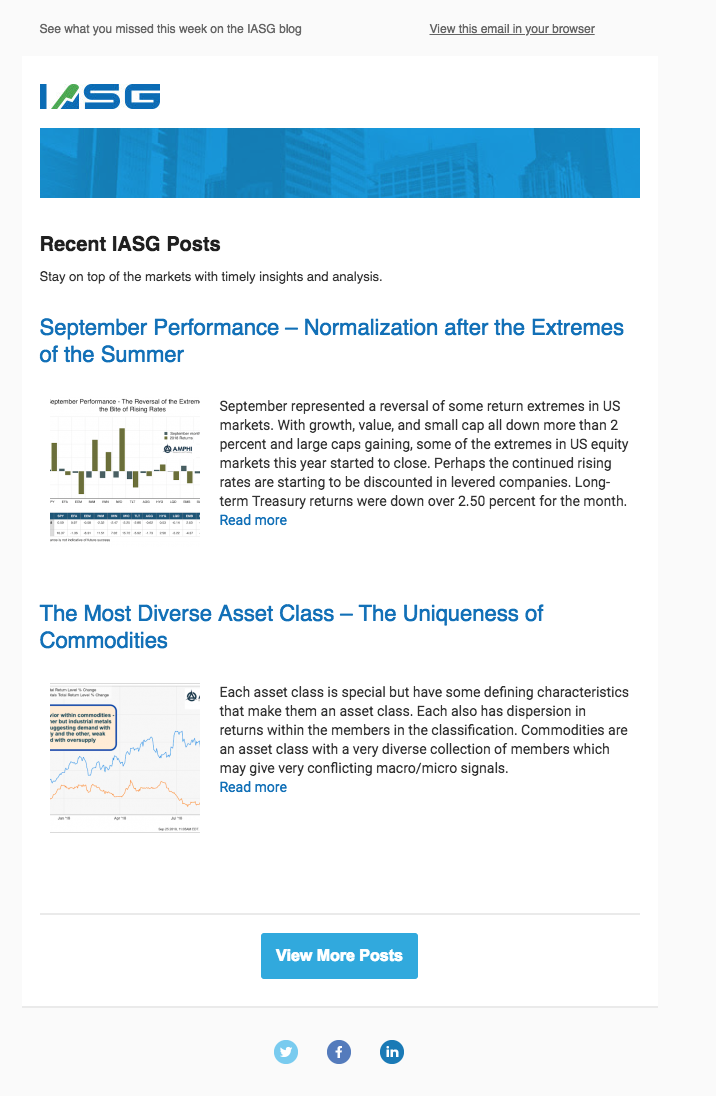
Here is an example of a fully rendered email with RSS-fed content. You basically can set it and forget it at this point. However, you may want to consider adding a fixed marketing call to action above or below the feed content to help with your other KPIs.
Confirm and test your email and you’re ready to schedule and send. Now you can spend your saved time writing more content for your website. ?
Need help? Contact us to get yours set up today.